Posts

Showing posts from January, 2015

How to extract features from opensmile

Image
For installation of openSMILE toolkit please refer to the link  Installation of openSMILE How to extract features using openSMILE toolkit? Demo Feature file to check if openSMILE is working completely This should generate a file input.energy.csv in the output folder path If the SMILExtract is not added to the /usr/bin path then you need to use ./SMILExtract from the openSMILE folder path ./SMILExtract –C config/demo/demo1_energy.conf –I <input_folder_path>/input.wav –O <output_folder_path>/input.energy.csv Chroma Features ./SMILExtract -C config/ chroma_fft.conf -I input.wav -O chroma.csv ./SMILExtract –cfgFileTemplate –configDflt cWaveSource,cFramer,cEnergy,cCsvSink -1 1 2> myconfig/demo1.conf MFCC Features ./SMILExtract –C config/MFCC12_0_D_A.conf –I input.wav –O output.mfcc.htk PLP Features ./SMILExtract –C config/PLP_E_D_A.conf –I input.wav –O output.plp.htk  Prosody Features   ./SMILExtract –C config/prosodyShs.conf –I input.wav
Most Frequently Used UNIX / Linux Commands

Image
Most Frequently Used UNIX / Linux Command This article provides practical examples for 50 most frequently used commands in Linux / UNIX. This is not a comprehensive list by any means, but this should give you a jumpstart on some of the common Linux commands. Bookmark this article for your future reference. Did I miss any frequently used Linux commands? Leave a comment and let me know. 1. tar command examples Create a new tar archive. $ tar cvf archive_name.tar dirname/ Extract from an existing tar archive. $ tar xvf archive_name.tar View an existing tar archive. $ tar tvf archive_name.tar More tar examples: The Ultimate Tar Command Tutorial with 10 Practical Examples 2. grep command examples Search for a given string in a file (case in-sensitive search). $ grep -i "the" demo_file Print the matched line, along with the 3 lines after it. $ grep -A 3 -i "example" demo_text

Installation of Xilinx ISE on Debian Linux, Fedora

Image
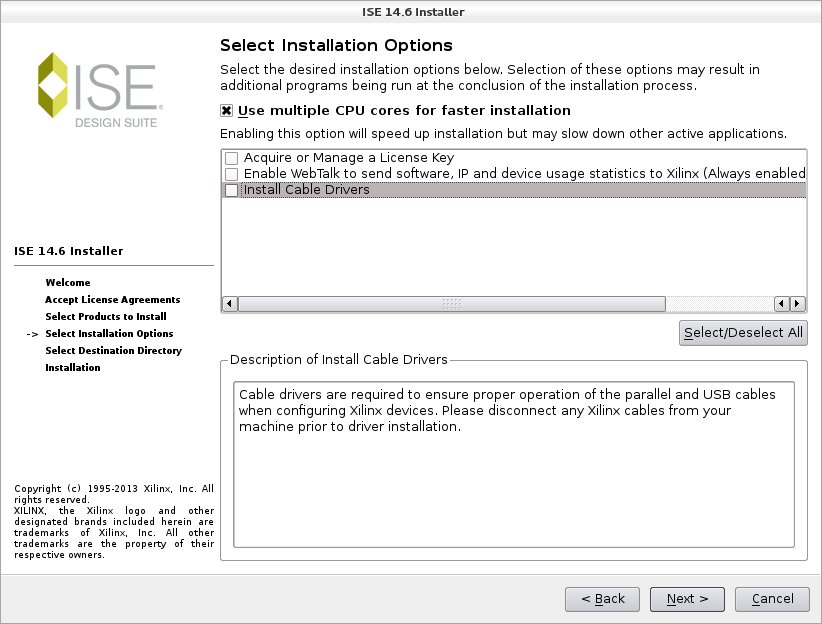
Before the magic begins.. The Xilinx ISE is a powerful design suite for FPGAs/CPLDs manufactured by Xilinx. It consist of several tools that give possibility to design, debug, simulate and program the FPGAs. Unfortunately the Xilinx ISE is officially supported only on the one linux OS, namely, Rad Hat. However it does not mean that the Xilinx ISE would not work on other linux platforms, but requires additional postinstallation. The modifications, that you should make to force the tools work, depend on your OS and could be not trivial at all. The only help are tips'n'tricks on numerous FPGA forums and personal blogs, and I want to thank all of their authors. After spending of days for complete postinstallation I believe in importance of writing the following tutorial to save time of people that want to design FPGAs under linux. First, I want to clarify software versions and installing path I have used. So take into account, that you could have something differ

Git In Five Minutes

Many people consider Git to be too confusing or complex to be a choice for version control. Yet Git considers to grow in adoption, and many interesting things have grown up around it. This document is geared for someone wanted to get started with Git, often coming from a Subversion background. For most basic needs this document will cover 70 to 90 percent of your use. Getting Started To use Git you will have to setup a repository. You can take an existing directory to make a Git repository, or create an empty directory. To make your current directory a Git repository we simply run init . git init To make a new directory that is a Git repository we just specify a directory. git init newrepo From here on out we'll assume that you are in the root of the Git repository unless otherwise noted. Adding New Files So we have a repository, but nothing in it. You can add files with the add command. git add filename To add everything in your directory try git add . .

git - the simple guide

Image
create a new repository create a new directory, open it and perform a git init to create a new git repository. checkout a repository create a working copy of a local repository by running the command git clone /path/to/repository when using a remote server, your command will be git clone username@host:/path/to/repository workflow your local repository consists of three "trees" maintained by git. the first one is your Working Directory which holds the actual files. the second one is the Index which acts as a staging area and finally the HEAD which points to the last commit you've made. add & commit You can propose changes (add it to the Index ) using git add <filename> git add * This is the first step in the b

How To Mount ISO Image Without Burning Them in Linux

For various reasons,you may want to use ISO images without burning them,and you just need to mount them in a easy way. First,create a directory which you want to mount ISO images to by running following command in terminal: sudo mkdir /media/ISOimage Then,add the loop module to your kernel,so it is possible to mount a compressed filesystem file: sudo modprobe loop Change directory where ISO images located: cd /iso-images-directory Now,use following command to mount ISO image: sudo mount iso-image-name.iso /media/ISOimage/ -t iso9660 -o loop replace “iso-image-name.iso”to your ISO image. And,use this command to umount ISO image: sudo umount /media/ISOimage